Lesson 31

Lesson Objective: In this lesson, we will learn about the Extend Tool.

EXTEND TOOL USAGE
The Extend tool is used to extend the edge of a quilt surface by a specified amount. This would be used if you needed to merge two surfaces together that are completely touching all along the surface boundary.
USING THE EXTEND TOOL
The Extend tool is located on the feature toolbar and looks like the following icon.
![]()
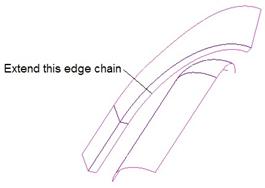
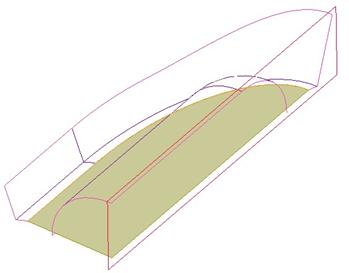
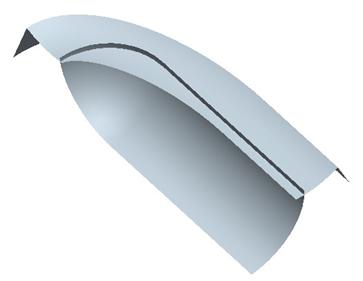
It can only be accessed if an edge chain of a surface quilt is selected. To demonstrate this tool, we will open up the model entitled Extend1, which looks like the following.

This model consists of a revolved surface quilt, and a swept surface quilt. We could have sketched the swept surface in such a way that it would have completely intersected the revolved surface, but for the sake of this lesson, we will leave it the way it is.
The goal is to extend the edge chain of the swept surface, which is an arced surface, over to the revolved surface. The following figure shows the edge chain being selected.
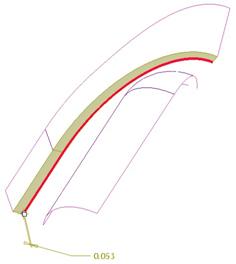
Therefore, select the tangent set of edges shown in the next figure.

Once these edges are selected, click on the Extend tool. When we do this, we will see the following.
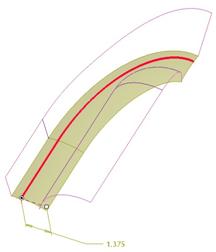
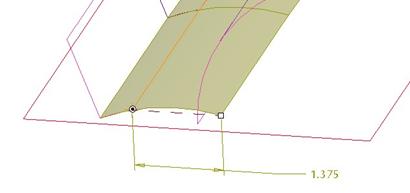
We will start by changing the dimension value to 1.375, which makes our preview look like the following figure.
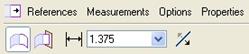
The dashboard for our extend tool looks like the following.
Along the bottom, there are two icons. The first one is used to extend the surface along its current direction. This is the default. The second icon is used to extend up to a selected plane. Be careful when using this, because it takes the surface at the selected edge, and brings it straight over to the plane, normal to it the whole way. It does not merely extend the arced surface over to the plane. The following figure shows what this model would look like with this option and the RIGHT datum plane selected.
We will keep the surface extend type at the default for now. If we look at the Measurements slide-up panel, we see the following.
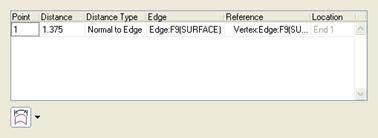
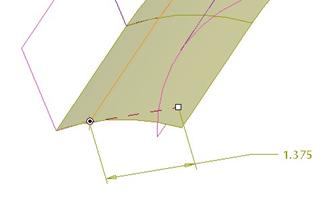
Down in the lower left corner, there are two options for how the distance is measured. The following figure shows these two options.
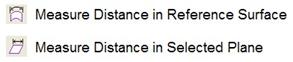
The following two figures show the difference between these options.
Measure Distance in Reference Surface
Measure Distance in Selected Plane (TOP Plane Selected)
We will leave the default alone (in Reference Surface). We will now click on the Options panel, which looks like the following.
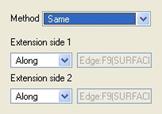
For the Method field, there are three options: Same (default), Tangent and Approximate. “Same” keeps the curvature of the original surface. This is what we have seen so far. “Tangent” extends the surface out tangentially from the edge selected. The following two figures show how these options differ (as seen from the BACK view):
Same
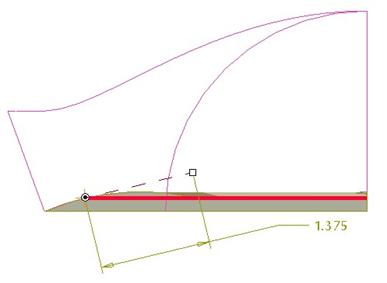
Tangent
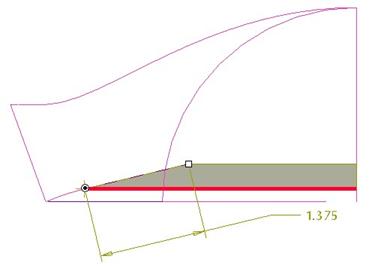
As we can see, the curvature is kept in the “Same” option, but the extension goes straight in the “Tangent” option.
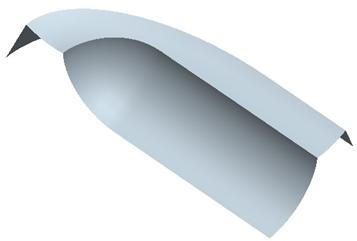
We will leave the default of Same for this model. Click on the green check mark to complete this surface extension, and our model now looks like the following.
The final thing we will do is merge these two surfaces together to get the following model.
Save and close this model.
LESSON SUMMARY
The surface extend tool is used to extend the edges of a surface by a specified amount and based on a specified method.
EXERCISES
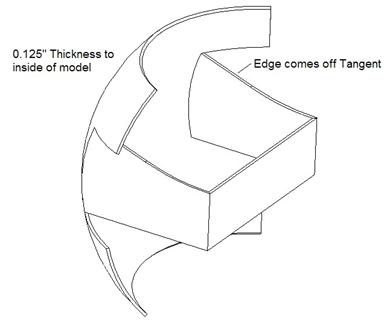
Open up the Extend2 model, which looks like the following figure.

The goal is to extend up the “U” shaped surface and merge it with the larger revolved surface. A wall thickness of 0.125” should be applied to the inside of the model.
While extending, we want the top edge of the extension to remain tangent to the arced edge on the original surface being extended.
The resulting model will look like the following.
Save and close this model.