Lesson 180

Lesson Objective: In this lesson, we will learn about the Rib Feature.
RIB USAGE
The Rib feature is designed to create a thin walled protrusion between two or more surfaces in the model. The unique behavior of the rib as it can adapt to changing geometry better than an extrude feature makes is a great, but underused feature.
CREATING THE RIB
The rib feature is located in the Feature Toolbar in the top grouping of blue icons, and looks like the following.
![]()
To demonstrate this feature, we will open up the Draft1 part that we have been working with. We will create a support/stack rib for this model. Therefore, we will start by clicking on the Create rib icon. The dashboard appears as follows.
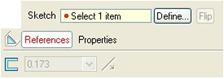
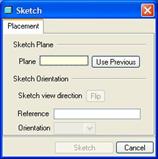
We need to start by sketching our rib profile. In the References slide-up panel, we can see a Define button. When we click on this, we see the familiar sketching window.
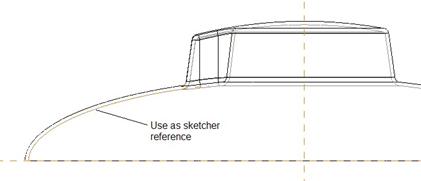
We will pick the RIGHT datum plane as our sketching plane, and accept the TOP datum plane facing towards the top. When we get into the sketch, we will pick the inside elliptical edge as a sketcher reference, as shown in the next figure.
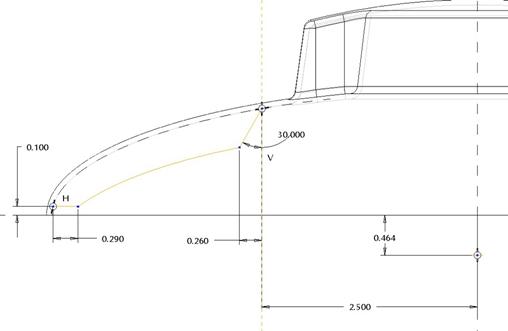
We are going to create the following sketch. NOTE: We will use an ellipse for the arc portion of this sketch, centered on the vertical reference line, located 0.464” below the horizontal reference line.
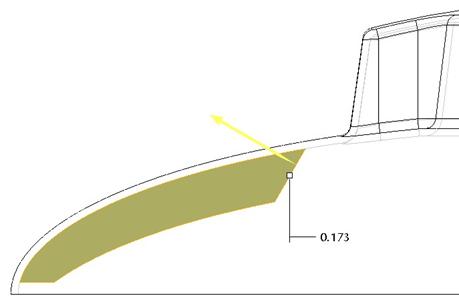
When we complete the sketch, we should see a preview of the rib. If the yellow arrow is not facing into the rib geometry, we will need to click on it to flip it. The preview should look like the following.
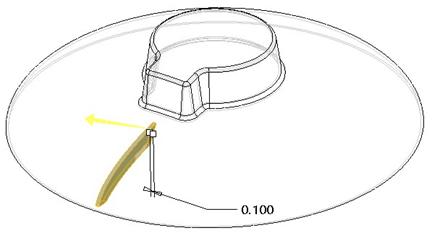
We will change the rib thickness value to 0.1”. Rotated, our final preview will look like the following.
Just like the shell feature, we have an icon next to the thickness field that is used to flip which side of the sketching plane our rib is added. By default, it wants to be symmetric about the sketching plane (0.05” on each side in this example). You can flip it to either side as well using this icon.
We will click on the green check mark to complete this feature. Our model looks like the following.
Save this model and close it. We will return to this in the lesson on patterns.
LESSON SUMMARY
Use a rib feature when you must add a thin wall between existing surfaces of a model. This is preferable to extruding a protrusion on both sides of the datum plane, because the rib feature will follow curving geometry where an extrude just goes straight out from the sketching plane.
Use Cross-section datum curves when necessary to snap to the geometry at the location where you want the rib, especially if the geometry is curved.
EXERCISES
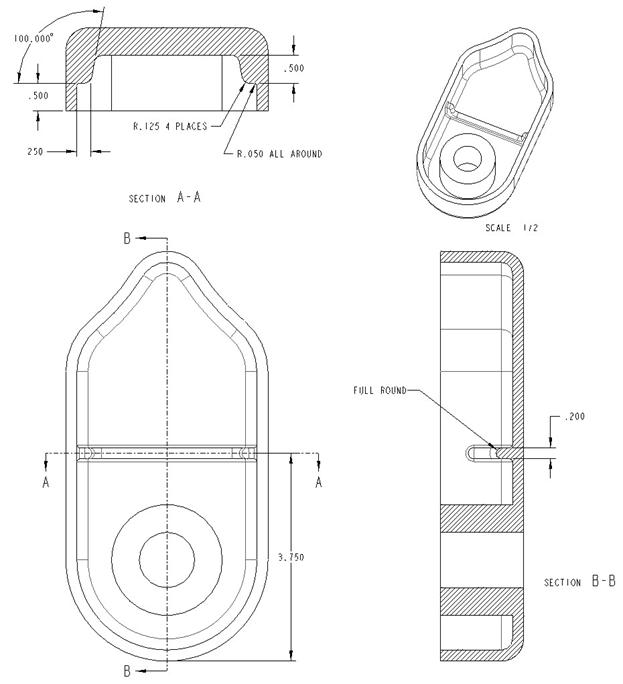
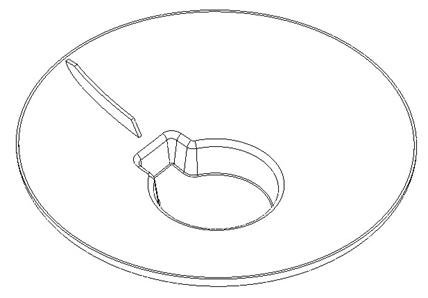
Open up the Headset part that we have been working on. We are going to add a rib within the shelled out area. After we add the rib, we are going to add some rounds to make it look nice. Use the figure below as a guide for this.